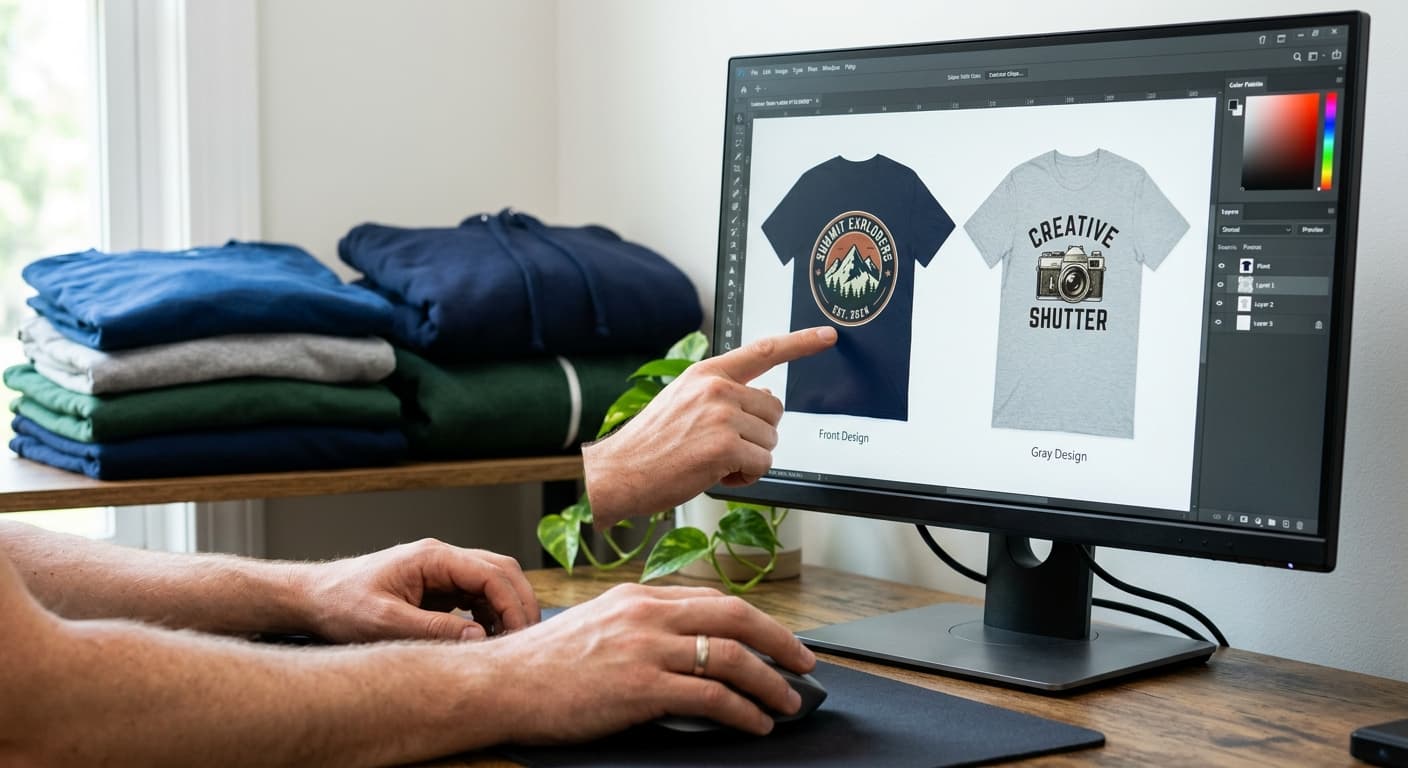
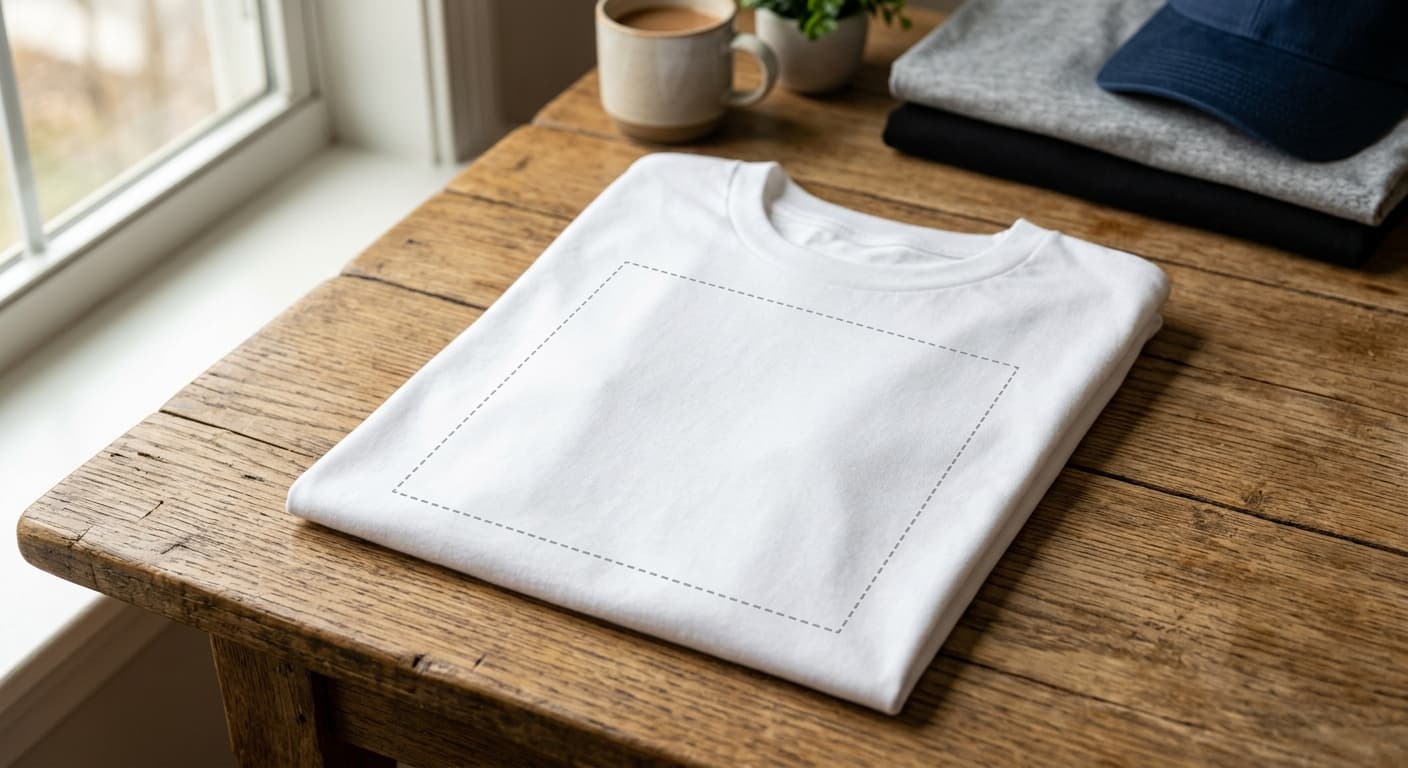
You've got a fantastic design idea, and you're ready to bring it to life on a t-shirt, hoodie, or cap. But before you get too far, it's essential to understand the practicalities of our printing process, specifically the custom apparel print area. Knowing these limitations helps you make informed decisions and ensures your artwork looks its absolute best.
Understanding the Print Area
Think of the print area as the 'canvas' we have available on each garment. This isn't a universal size; it varies significantly depending on the type of apparel and the specific printing method used. For instance, the t-shirt design placement will have a different set of dimensions than the hoodie print size or the logo placement on hats.
Key Factors Affecting Print Area:
- Garment Type: A small baby onesie will have a much smaller print area than a large adult t-shirt. Hoodies often have larger front and back print areas, but the sleeves and hood itself have their own, more restricted zones.
- Garment Size: Larger sizes of the same apparel generally offer a slightly larger potential print area to maintain visual balance.
- Printing Method: Different techniques (like screen printing, direct-to-garment, or embroidery) have varying capabilities and limitations regarding size and coverage.
- Seams and Features: We can't print directly over seams, zippers, buttons, or other raised elements. This naturally dictates where a design can and cannot go.
Our online design tools are designed to show you these general boundaries as you work. However, it’s always a good idea to be aware of these design limitations to avoid disappointment.
Strategic Design Placement: Making the Most of Your Space
So, how do you work within these boundaries, especially when you have multiple elements to include? It’s all about smart positioning and prioritizing what’s most important in your design.
For T-Shirts and Hoodies:
The most common placement is the center of the chest. This offers the largest and most visible area. For t-shirts, you also have the back and sometimes the sleeves. On hoodies, the front pouch pocket can sometimes interfere with a full-width design, so consider placing artwork above or below it.
Tips for multiple designs:
- Primary vs. Secondary Designs: Decide which design element is the most crucial. This should occupy the prime real estate (e.g., center chest).
- Sleeve Placement: Sleeves are excellent for secondary logos, smaller graphics, or repeating patterns. They offer a good amount of space without competing with the main design.
- Back Design: The back of a t-shirt or hoodie is a large canvas in itself. It’s perfect for a bold statement, a larger graphic, or a collection of smaller icons.
- Consider Scale: When placing multiple logos or designs, ensure they are scaled appropriately. A tiny logo next to a huge one can look unbalanced.
- Visual Flow: Think about how the eye will travel across the garment. Do the designs complement each other, or do they feel disjointed?
For Hats and Caps:
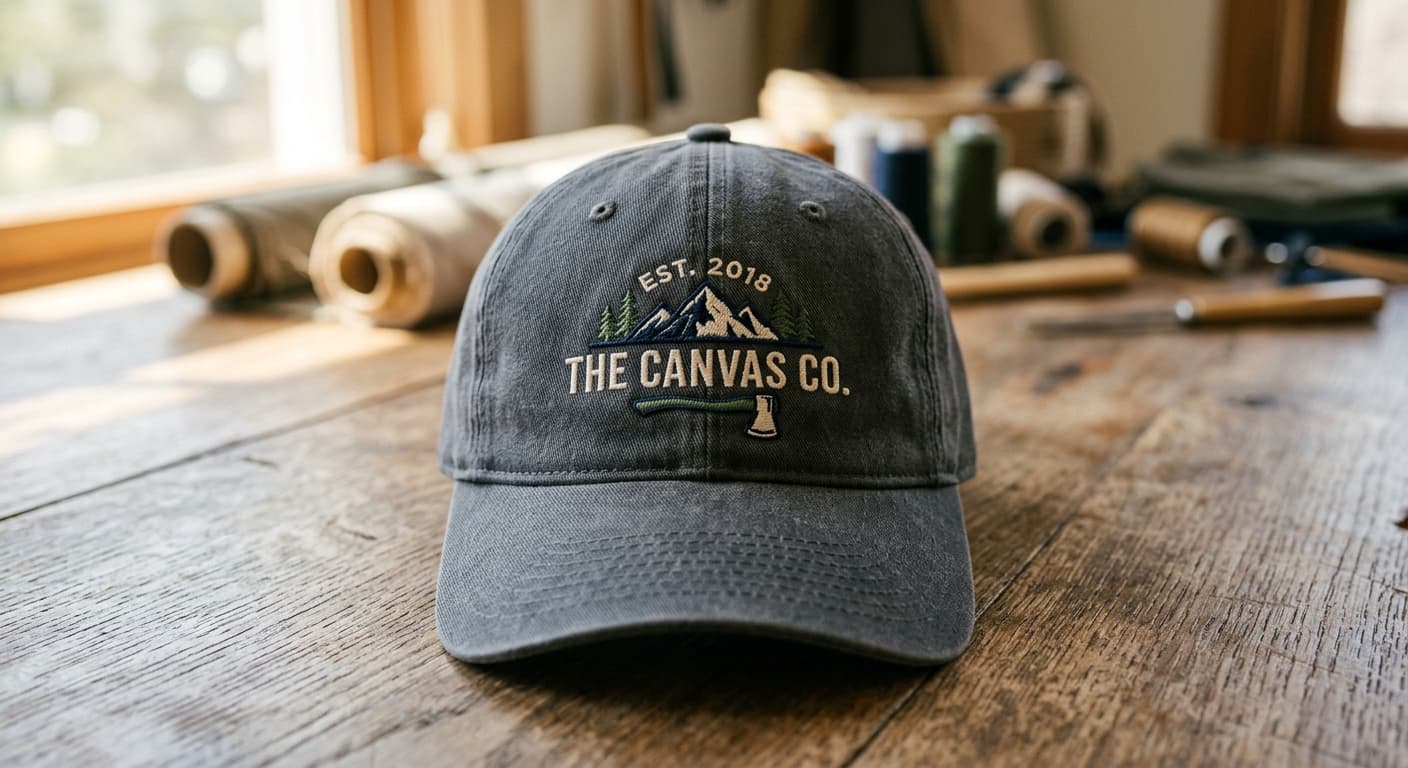
Logo placement on hats is more specialized. The front panel is the most prominent spot, typically for a single, focused logo or design. Side panels and the back (often where the adjustable strap is) offer smaller areas.
Tips for hats:
- Front and Center: This is the prime real estate. Keep it clean and impactful.
- Side Panels: Great for smaller icons, initials, or a secondary, less dominant logo.
- Back Panel: Often used for brand names, website URLs, or smaller graphic elements. Be mindful of the stitching and adjustability mechanism.
- Embroidery vs. Printing: Embroidery on hats has its own set of limitations, often with maximum stitch counts and thread color restrictions that affect design complexity.
General Apparel Printing Tips:
When planning your custom apparel, always refer to the specific product pages for detailed sizing charts and print area guidelines. Don't hesitate to reach out to our customer service team if you have complex design ideas or questions about apparel printing tips. We're here to help you navigate these design limitations and ensure your vision is realized perfectly.
By understanding the custom apparel print area and employing strategic placement, you can create eye-catching and impactful designs on any garment.