You've poured your creativity into designing custom apparel – whether it's for your band, your business, a special event, or just for fun. The next exciting step is seeing your design come to life! But before we fire up the printers and start stitching, we send you a digital proof. This is your final chance to review everything. Understanding how to approve your digital proof for custom apparel is key to a smooth and successful production process.
What is a Digital Proof and Why is it Important?
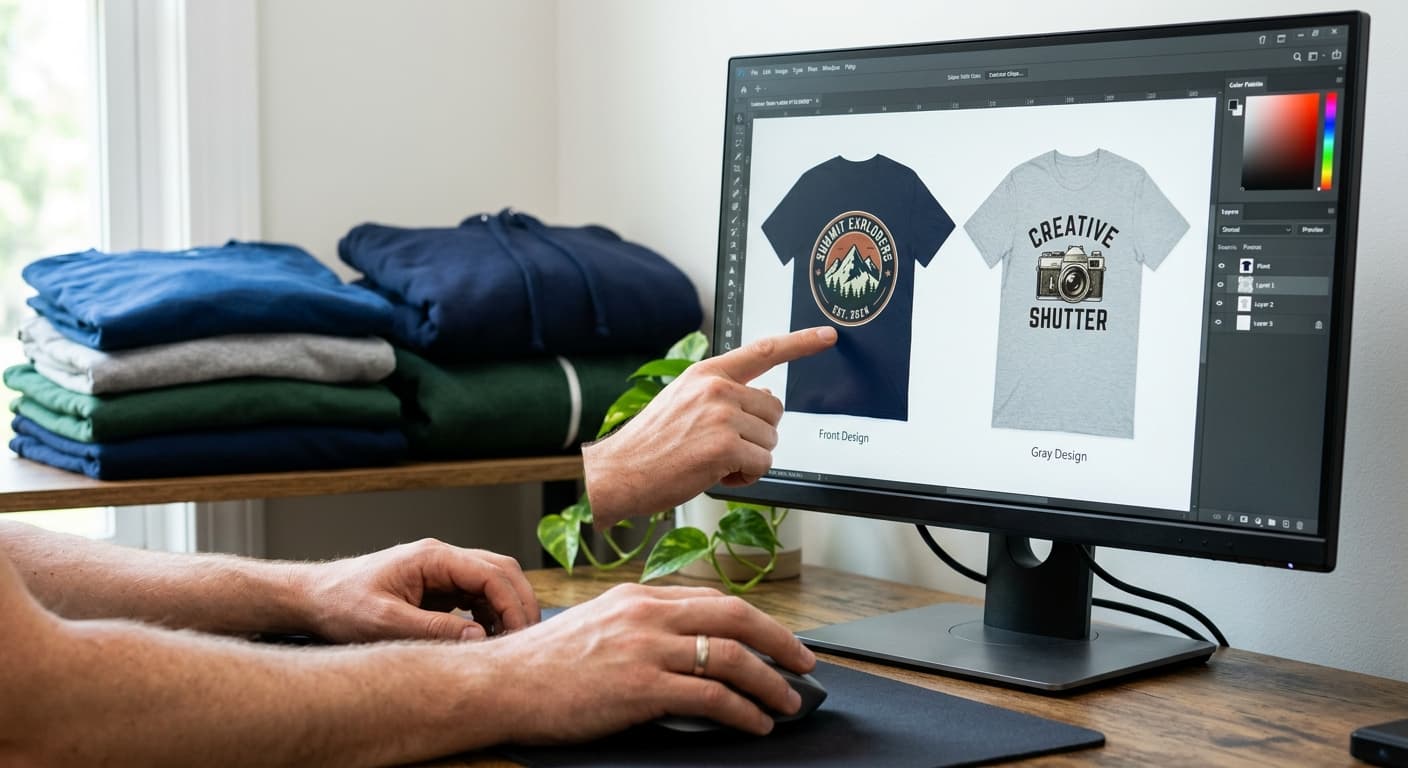
Think of a digital proof as a blueprint for your custom prints. It's a digital representation of your design as it will appear on your chosen garment – be it a t-shirt, a hoodie, or a cap. This proof allows you to visualize the final product before any ink hits fabric or thread is embroidered. It's your opportunity to catch any potential errors, confirm placement, colors, and sizing, and ensure everything aligns with your vision. Skipping or rushing the digital proof approval process can lead to costly mistakes and disappointment, so taking the time to review it thoroughly is essential.
Key Elements to Scrutinize on Your Custom Apparel Proof
When you receive your digital proof, it's important to know exactly what you're looking for. Here’s a breakdown of the critical elements:
1. Design Accuracy
This is the most obvious, but often the most overlooked, aspect. Double-check every single detail of your artwork:
- Logos and Graphics: Are all elements present and correctly rendered? Are there any missing lines, distorted shapes, or unexpected artifacts?
- Text and Typography: This is a big one! Ensure all text is spelled correctly. Check for typos, grammatical errors, and proper punctuation. Also, verify that the font style and size are exactly as you intended. Sometimes fonts can render differently on screen than in print.
- Colors: While digital screens can't perfectly replicate print colors, the proof should give you a very good approximation. Compare the colors on the proof to your original design files or your expectations. If color accuracy is paramount, discuss Pantone (PMS) matching with your representative.
2. Placement and Size
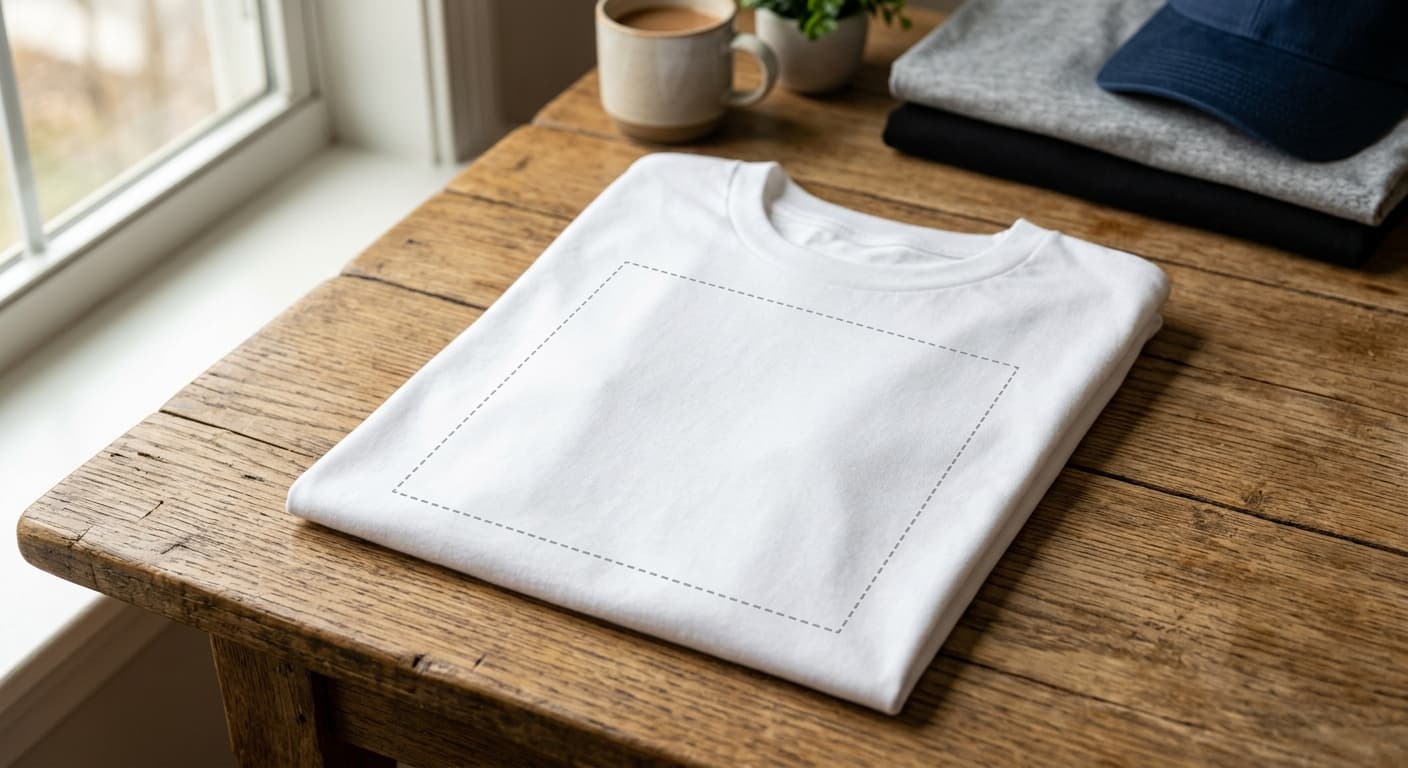
Where your design sits on the garment is just as important as the design itself. Your digital proof will typically show the design's position relative to the garment's seams and edges.
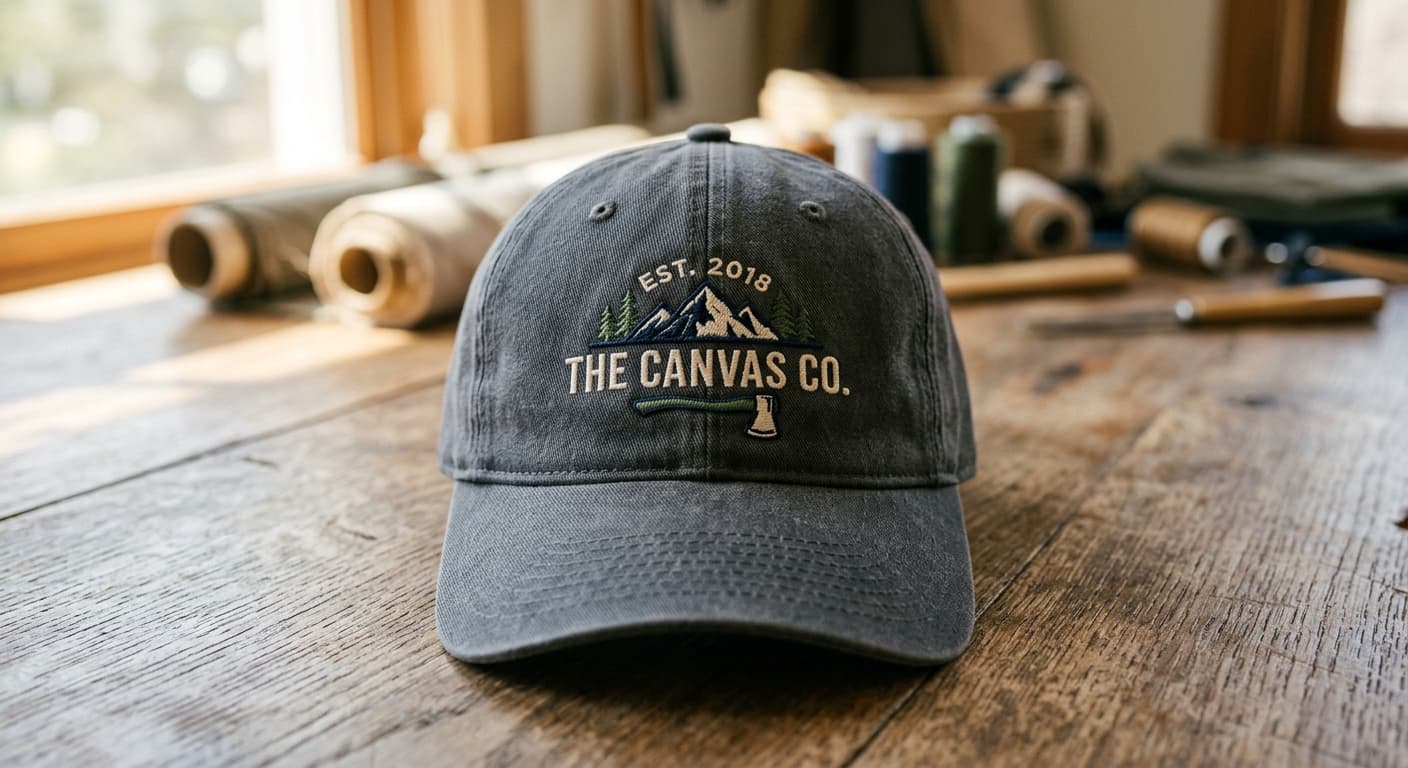
- Location: Is the design centered as you wanted? Is it too high, too low, too far left, or too far right? Pay close attention to the placement on the front, back, sleeves, or even the brim of a hat.
- Size: Does the size of the design look right for the garment? A large design on a small t-shirt can look overwhelming, while a small design on a large hoodie might be hard to see. The proof should indicate the dimensions of the printed area.
- Consistency: If you have multiple placements (e.g., front and back), ensure they are aligned and proportioned correctly relative to each other and the garment.
3. Garment Type and Color
The proof will usually be displayed on a representation of the garment you've chosen.
- Garment Style: Confirm that the proof shows the correct style of t-shirt, hoodie, cap, or hat you ordered.
- Garment Color: Does the garment color in the proof match your selection? This is especially important for subtle color variations.
- Print Method: While not always explicitly shown, the proof often implies the print method (e.g., screen printing, embroidery, DTG). If you have specific requirements or concerns about how your design will be applied, confirm this with your sales representative.
4. Resolution and Quality
The digital proof is designed to show you a clear representation. If the proof itself looks fuzzy or pixelated, there might be an issue with the artwork file that needs addressing before production.
How to Approve Your Digital Proof for Custom Apparel
Once you've thoroughly reviewed your digital proof, you'll need to formally approve it. The exact method can vary slightly between companies, but the general process is as follows:
Step 1: Receive the Proof
Your custom apparel company will typically email you the digital proof. It will often be in a PDF format or a link to an online proofing system. Make sure to check your spam or junk folder if you don't see it in your inbox within the expected timeframe.
Step 2: Review Against Your Order Details
Before diving into the visual inspection, cross-reference the proof with your original order details. Does the proof reflect the garment type, color, size, quantity, and design you agreed upon?
Step 3: Conduct a Thorough Visual Inspection
This is where you apply the points discussed in the previous section. Take your time. Zoom in on the details. If possible, print the proof out (though be aware that printer calibration can affect color representation). It can also be helpful to have a second pair of eyes review it with you.
Step 4: Communicate Any Changes or Concerns
If you find any discrepancies or have concerns, do NOT approve the proof. Instead, reply to the email or contact your representative immediately. Be specific about what needs to be corrected. For example:
- “The text ‘Grand Opening’ needs to be changed to ‘Grand Re-Opening’.”
- “The blue in the logo appears too dark; can we try a lighter shade?”
- “Please move the design 1 inch higher on the t-shirt.”
Your company will then revise the proof and send you a new version for your approval. This back-and-forth might happen a few times until you are completely satisfied.
Step 5: Provide Formal Approval
Once you are 100% happy with the digital proof, you need to give your formal approval. This is usually done by:
- Replying to the email with a clear statement like, “We approve the digital proof for order #12345.”
- Clicking an “Approve” button within an online proofing portal.
- Signing and returning a digital or physical proof approval form.
Important Note: Once you approve the digital proof, you are giving the green light for production to begin. Any errors or changes discovered *after* approval may incur additional costs and delays.
Tips for a Smooth Digital Proof Approval Process
To make reviewing and approving your custom t-shirt proof or custom hat proof as efficient as possible:
- Use a High-Quality Monitor: Ensure your screen is calibrated for accurate color representation.
- Review on the Intended Device: If you're designing on a desktop, review the proof on a desktop. If you're using a tablet, review on a tablet.
- Don't Rush: Allocate sufficient time for review. Avoid approving proofs late at night or when you're feeling rushed.
- Involve the Right People: If the apparel is for a group or organization, ensure the person responsible for final approval has the authority and the necessary information.
- Ask Questions: If anything is unclear, don't hesitate to ask your production specialist for clarification.
What Happens After Approval?
Once you've given your final approval, your artwork is sent to the production team. They will use the approved digital proof as the definitive guide for printing or embroidering your custom apparel. This ensures that what you see on the proof is as close as possible to what you receive in your hands. You'll then be updated on the production timeline and shipping information.
Approving your digital proof is a critical step in the custom apparel creation journey. By understanding what to look for and following a careful review process, you can ensure your custom t-shirts, hoodies, caps, and hats turn out exactly as you envisioned, ready to make a statement.